I made this pattern up when I was still pregnant with Little Lady. I’ve finally gotten around to making this cute guy for her first birthday. Perfect timing, since I wanted to give her something that she will cherish.
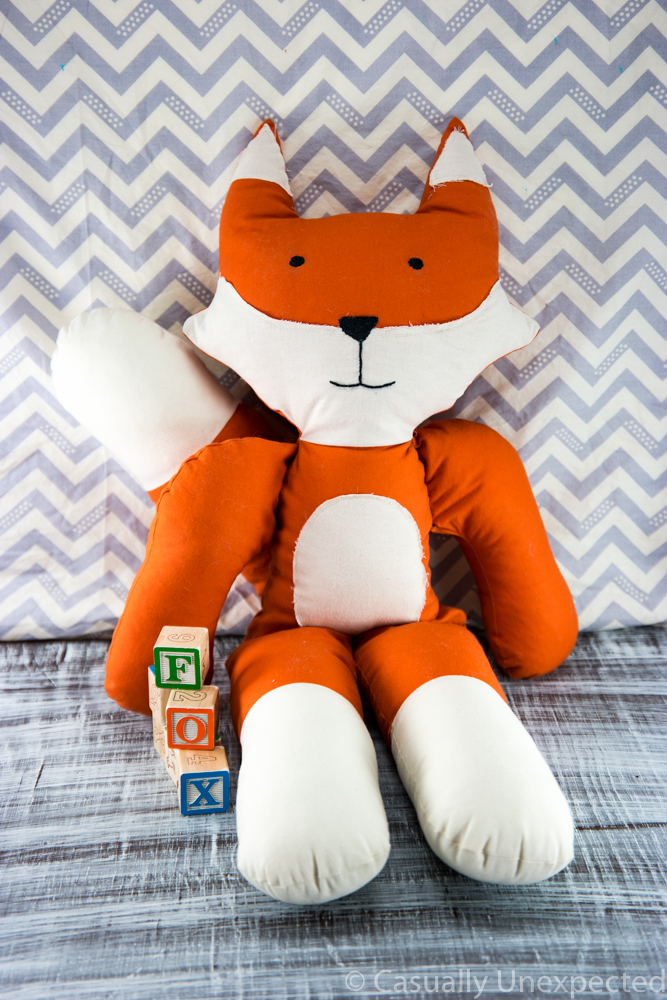
I love how this came out. It is 27″ from toe to ear tip. It’s almost as tall as Little Lady, and the perfect size for cuddling. Having kept the raw edges on the face and chest piece gives it that little touch of shabby chicness- the ultimate cuteness. They should fray with age.
I’m no professional pattern maker. Hopefully I have made this is easy enough to follow but if you have any questions don’t hesitate to ask!
Let’s get started, shall we?
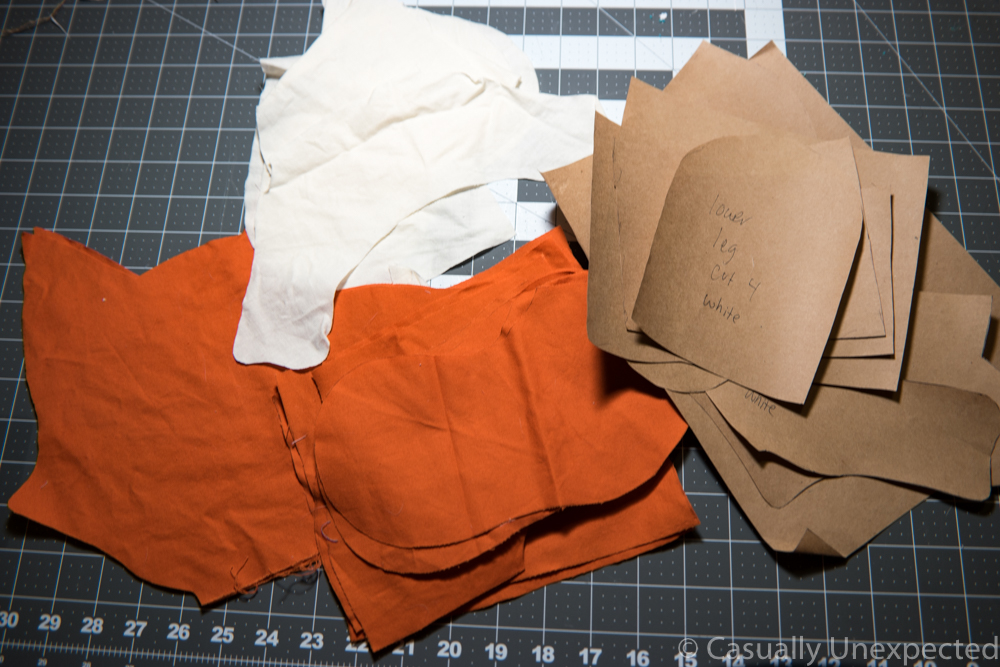
First print out the PDF(at the bottom of the post) and cut out all the pattern pieces. I used an orange cotton for the body and undyed muslin for the white parts.
 Zig-zag stitch the lower face and the ear tips on.
 Draw on your eyes, mouth, and nose. I just free-handed with a fabric pencil.
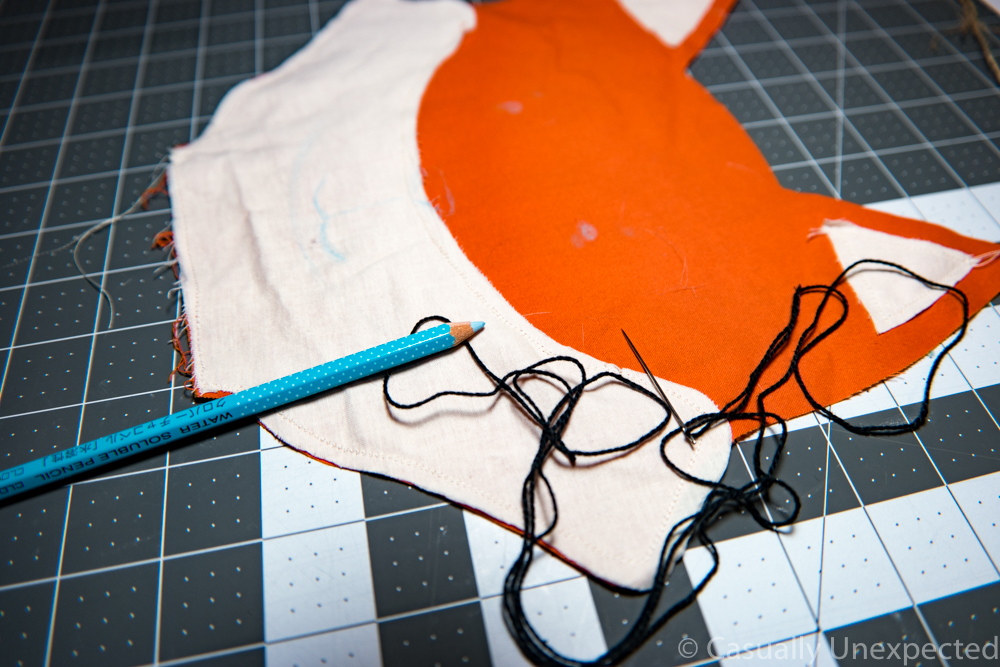 Embroider your lines. I hand stitched it using a slip stitch.
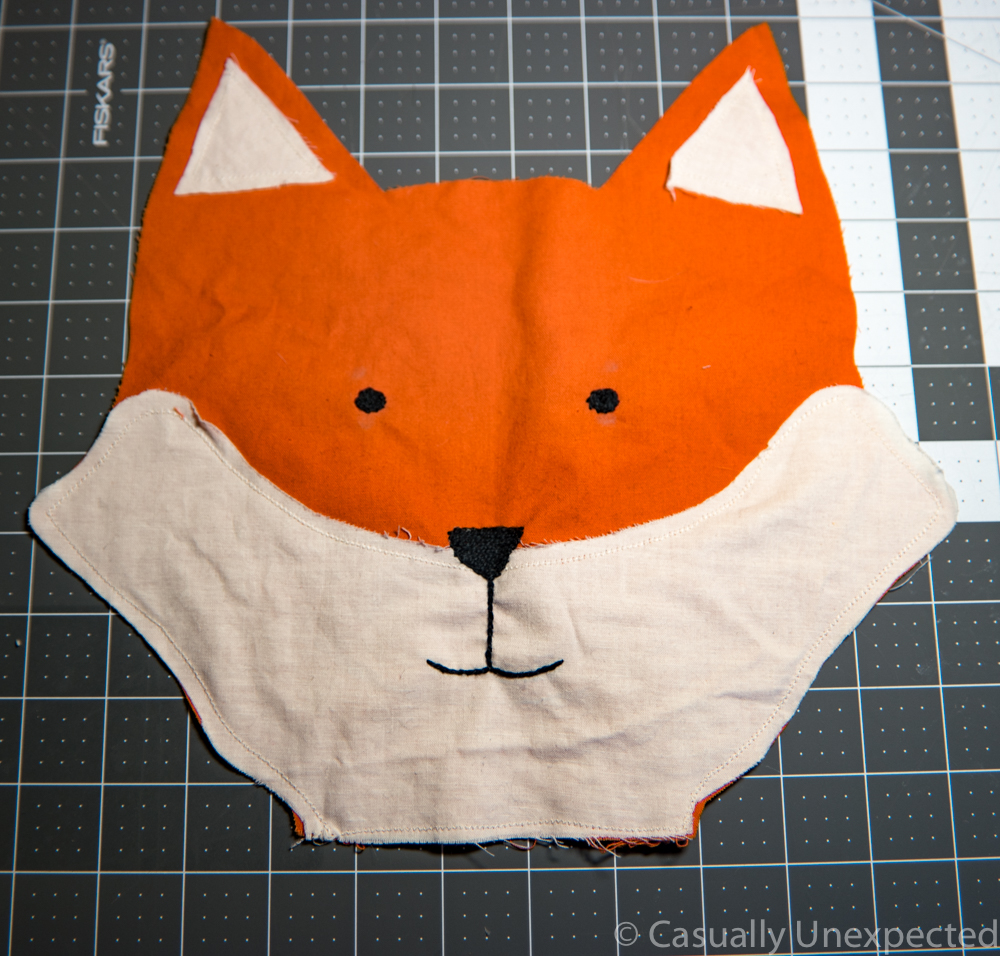
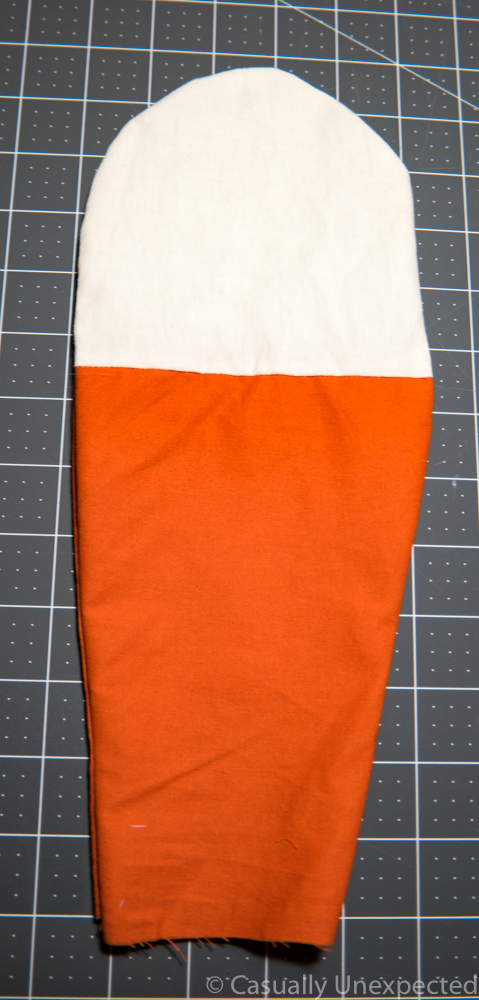
It should look something like this:
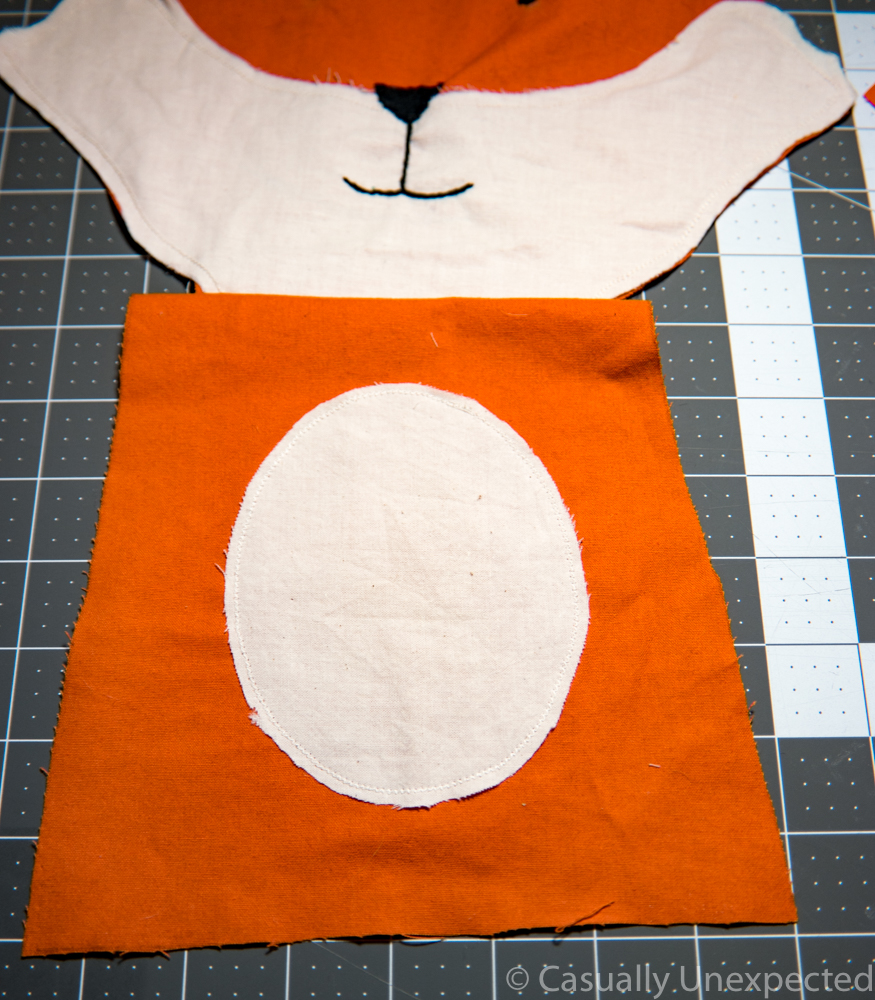
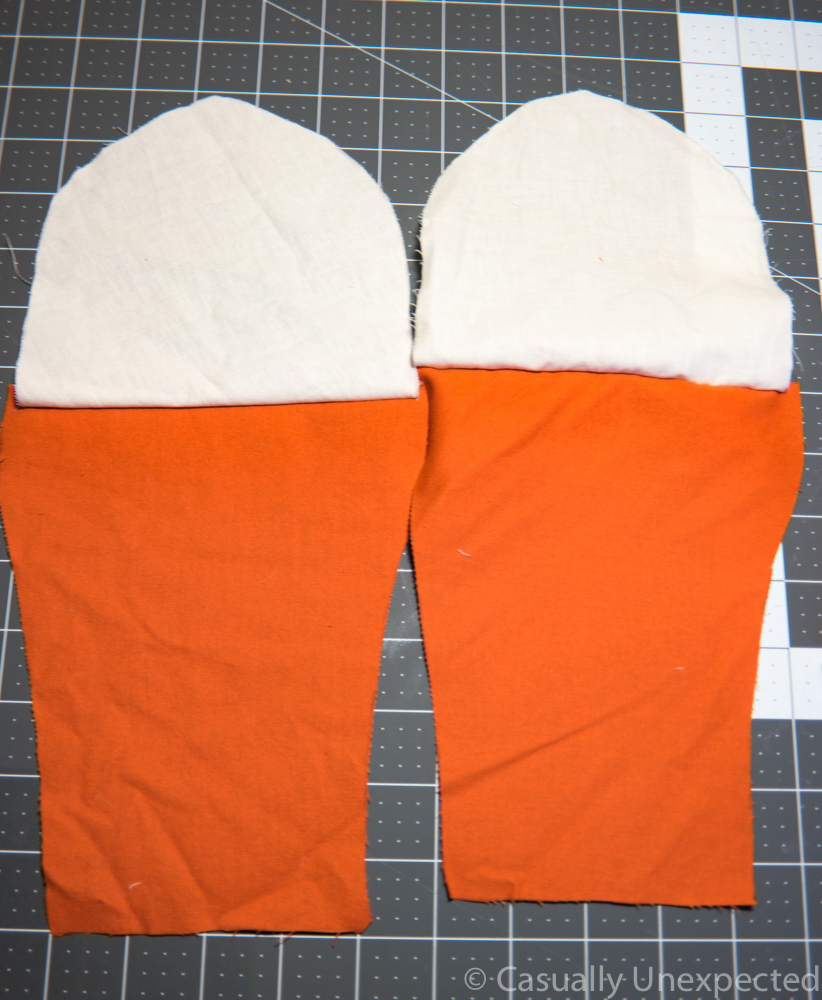
 Zig-zag stitch the white chest piece onto the orange body. Sew the body and the head right sides together.
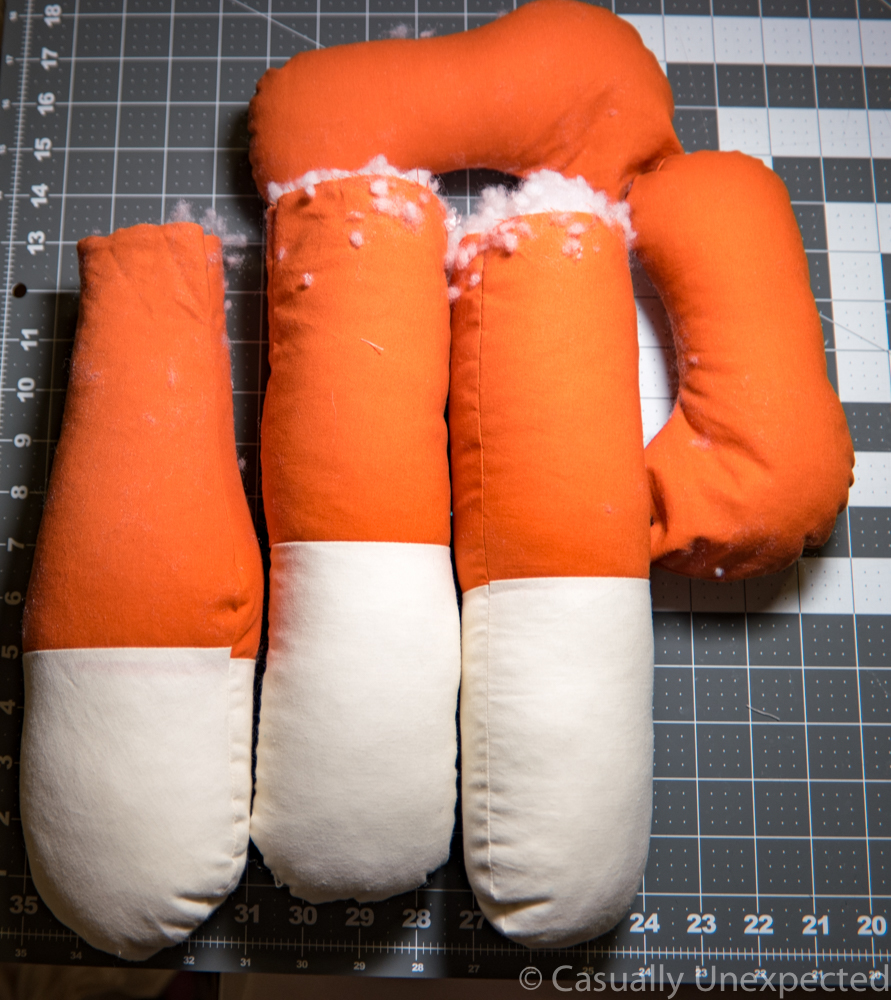
 Sew the tail and tail tips right sides together. You will need to do this for the legs too.
 Sew both sides of the tail right sides together leaving the bottom open. Flip out. Do this for each of the limbs as well.
 Stuff with fill. (I used this fill which I love.) There should be two legs, two arms, and a tail.
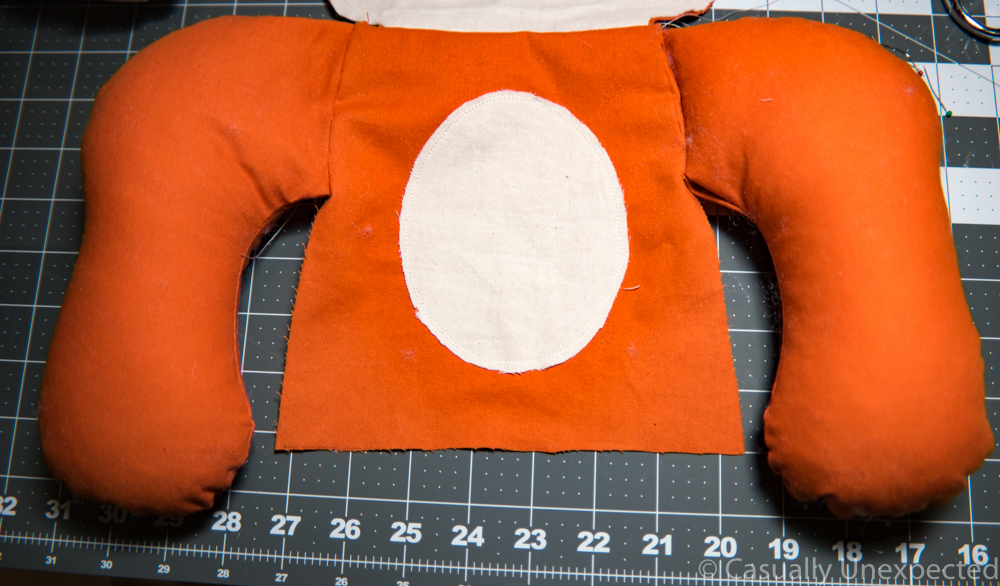
 Sew each arm to the top of the body where the head connects, right sides together.
 Should look like this:
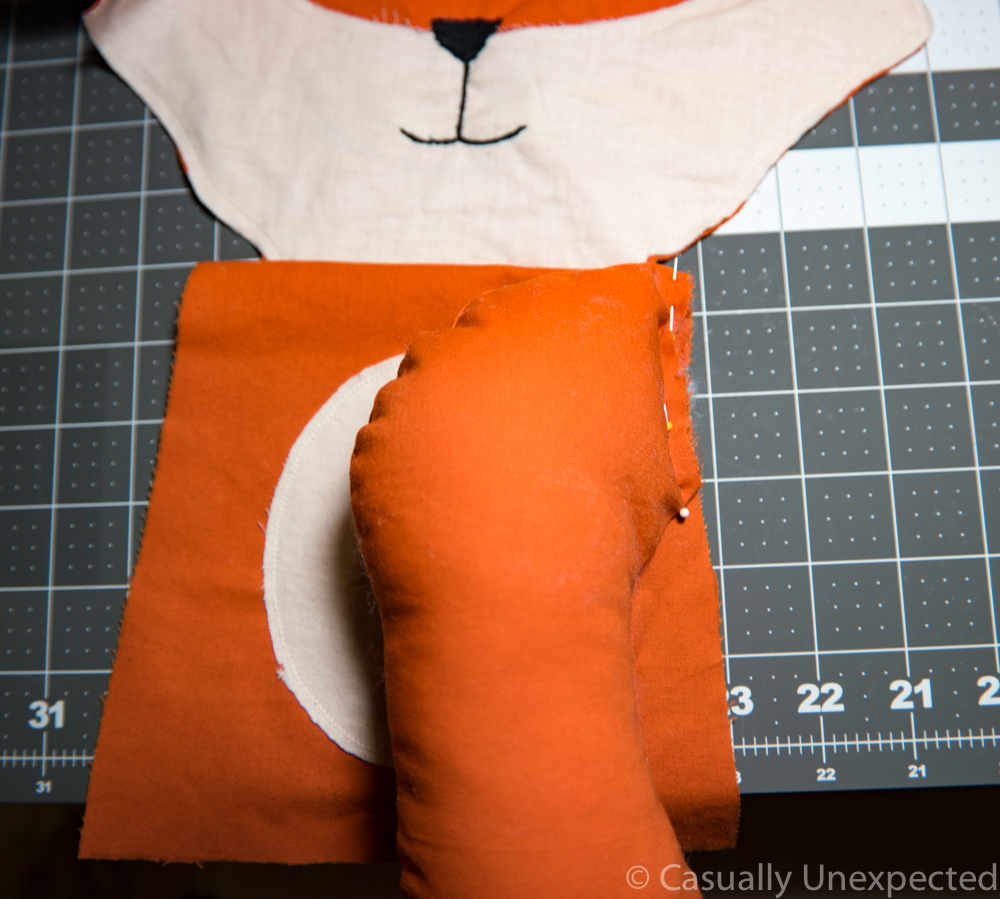
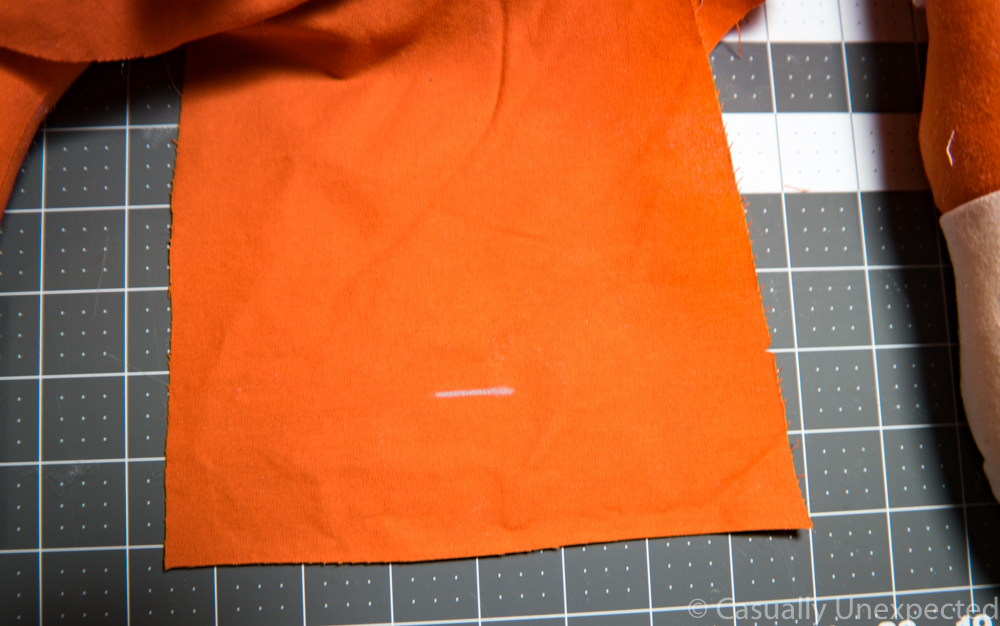
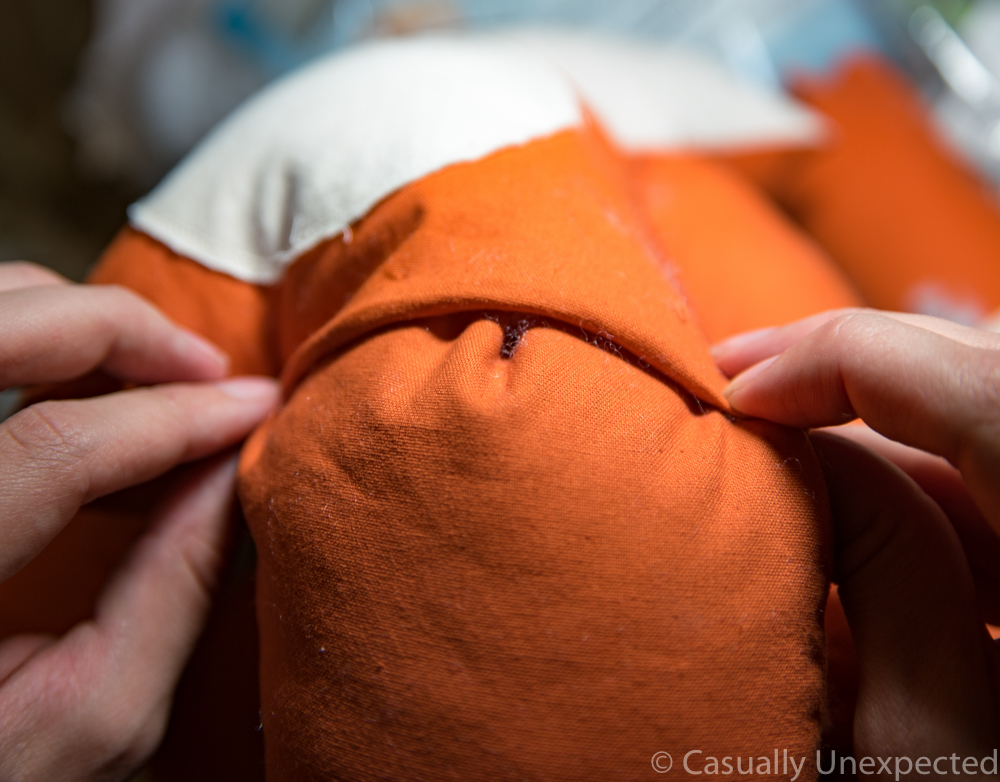
 Cut a 2 inch horizontal slit on the back of the body for the tail. It should be 2 inches from the bottom. I used a fabric pencil to mark it.
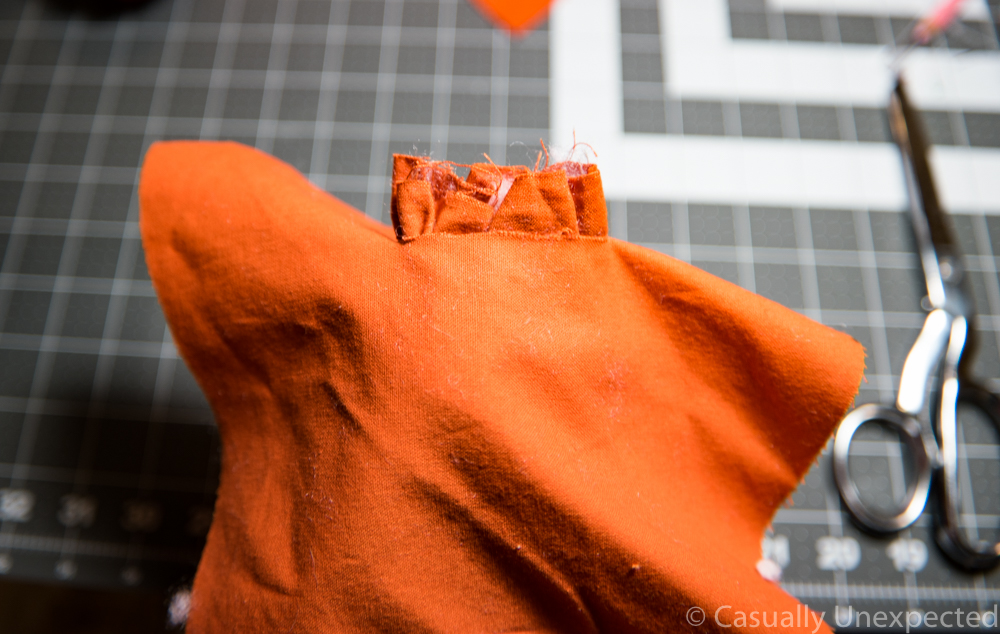
 Put the open end of the tail through the slot and sew.
 Now, sew the front head/body to the back- right sides together.
 Flip right side out.
Starting to look like a stuffed animal, isn’t it? 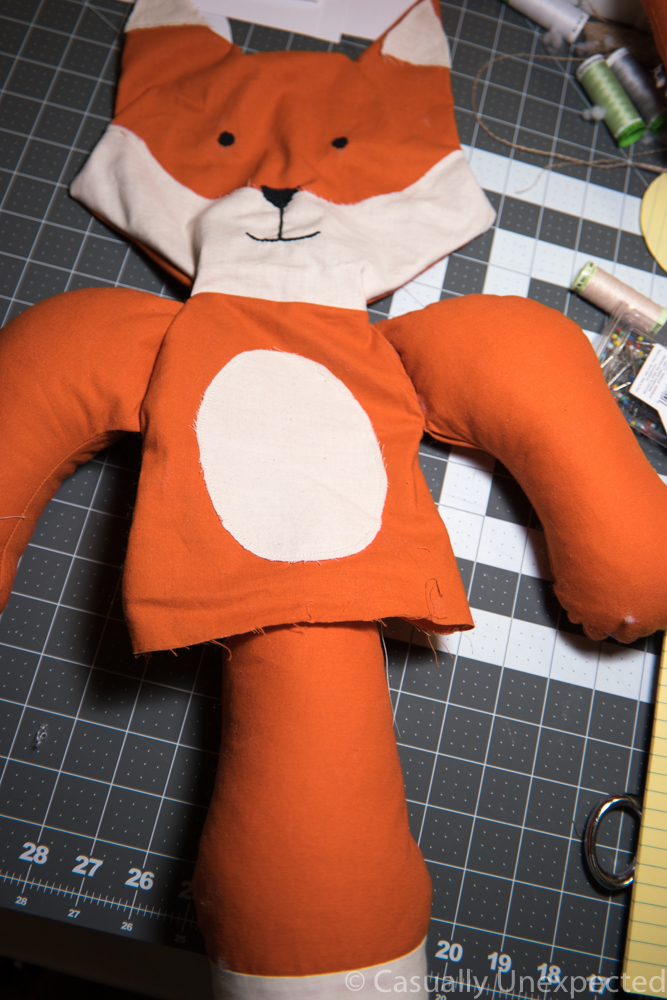 Stuff the head and body.
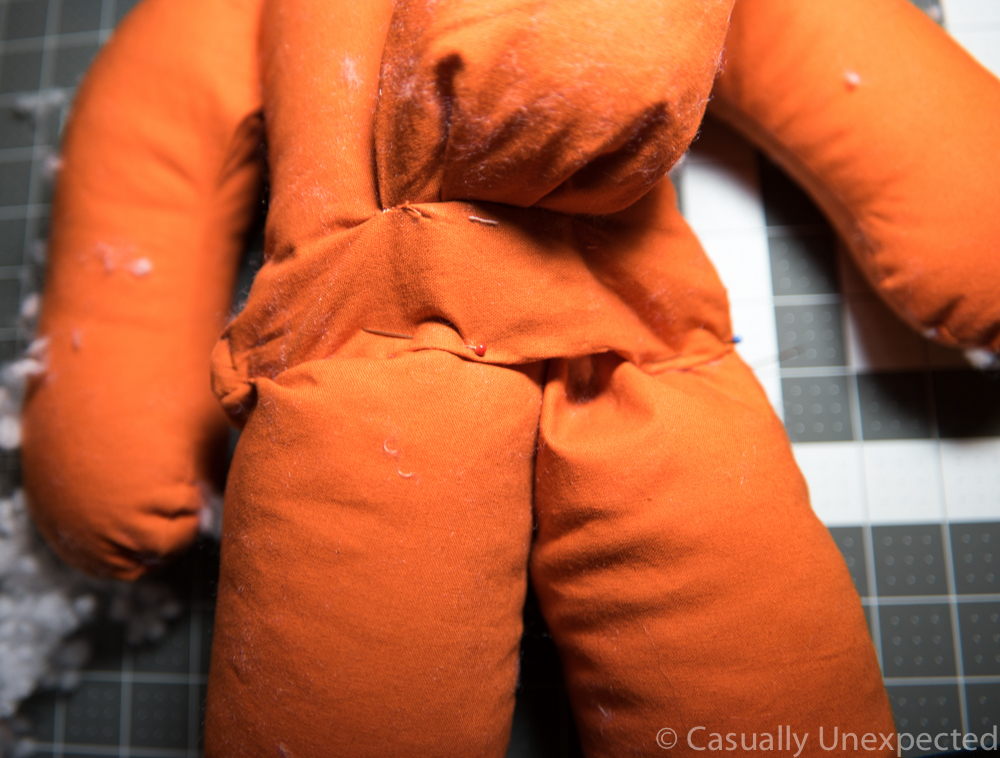
To close off, place the open ends of the legs in between the seams and hand stitch it closed turning the raw edge of the opening in as you go. I used a ladder stitch to keep the seam hidden.
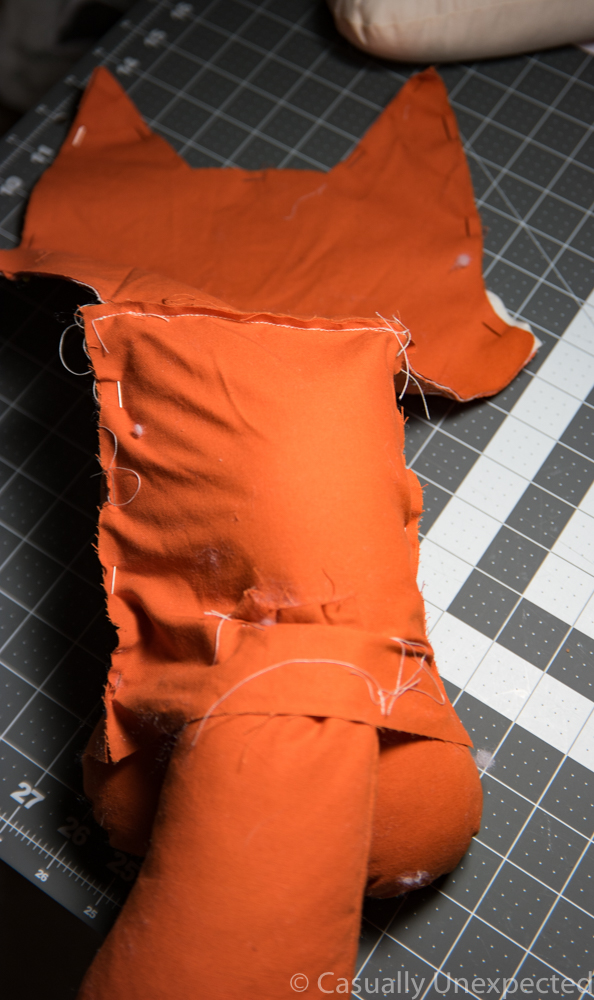
 Pin the back and front of the fox to help hold the legs in place, this makes it easier to sew.
 And there you have it.
 Let me see the fox you made! Post to my Facebook page or on Instagram!
Click here for the Fox_Stuffed_Animal_Pattern
I have put 1″ measurements on some of the pattern pieces so you can make sure it is to scale when printed out. However you can scale this with a copier to make a smaller/larger stuffed buddy.


